
Comment dessiner sur iPad : un guide pratique
Dessiner sur un iPad se résume à trois choses : l’iPad, un stylet et une application de dessin. C’est toute l’installation. Une fois que vous avez ça, tout le reste n’est que perfectionnement.
Le matériel dont vous avez besoin
Commençons par le matériel avant d’aborder les techniques.
Vous n’avez pas besoin d’un iPad Pro. Beaucoup d’artistes utilisent un iPad Air ou même le modèle de base. Ce qui compte, c’est que l’écran soit assez grand pour travailler confortablement et que le processeur puisse faire tourner votre application de dessin sans ralentissement. C’est tout.
Choisir un stylet
Votre stylet est ce qui traduit les mouvements de la main en traits à l’écran. La qualité est importante ici.
Pour dessiner, vous avez besoin d’un stylet actif — pas d’un stylet à embout en caoutchouc bon marché. Les stylets actifs ont des fonctionnalités qui imitent réellement les outils d’art :
- Précision : Le trait apparaît exactement là où vous placez la pointe. Crucial pour les détails.
- Rejet de la paume : Vous pouvez poser votre main sur l’écran en dessinant sans laisser de traces indésirables. Révolutionnaire.
- Sensibilité à l’inclinaison : Inclinez le stylet pour varier l’épaisseur du trait et obtenir un ombrage naturel — comme un vrai crayon.
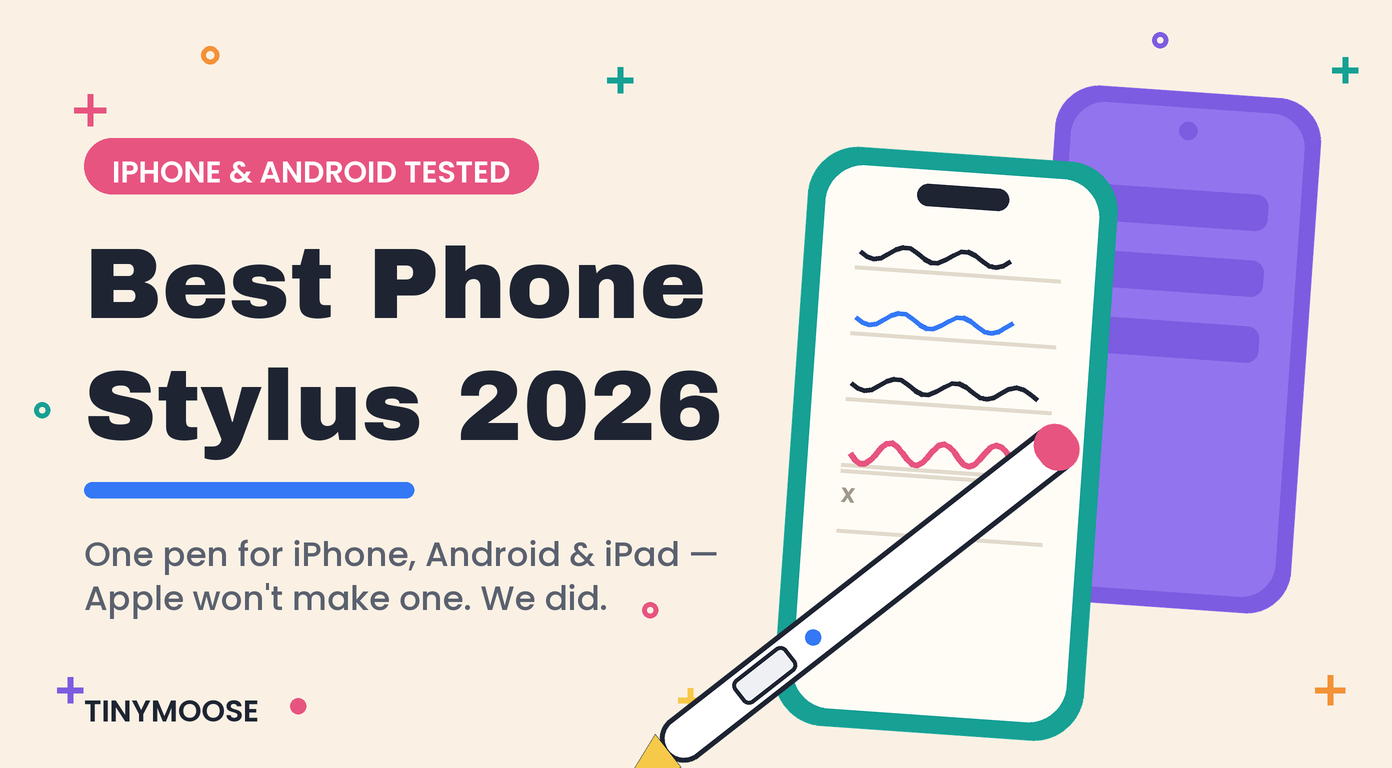
Le Tinymoose Pencil Pro offre toutes ces fonctionnalités à un prix raisonnable. Si vous voulez comparer les options, nous avons une analyse plus approfondie des meilleurs stylets iPad pour le dessin.
Équipement essentiel vs optionnel
Voici ce dont vous avez vraiment besoin versus ce qui est agréable à avoir plus tard :
| Catégorie | Essentiel | Pourquoi | Amélioration optionnelle |
|---|---|---|---|
| Tablette | N’importe quel iPad récent | Votre toile. La plupart des modèles conviennent. | iPad Pro pour un écran plus grand et un rafraîchissement plus rapide. |
| Stylet | Stylet actif avec sensibilité à l’inclinaison et rejet de la paume | Indispensable pour dessiner. | Compatibilité double Tinymoose Pencil Pro Ultra (pour une utilisation mobile). |
| Application | Une application de dessin (par exemple, Procreate) | Le logiciel qui fait tout fonctionner. | Applications supplémentaires pour un travail spécialisé. |
| Protection de l’écran | Protecteur d’écran basique | Prévient les rayures. | Protecteur effet « papier » pour plus de texture. |
| Sauvegarde | iCloud ou stockage en nuage | Ne perdez pas votre travail. | Disque dur externe pour le stockage à long terme. |
Commencez par l’essentiel. Vous pouvez créer de superbes œuvres avec juste un iPad, un stylet correct et une application.
Protecteurs d’écran effet papier
Un accessoire à mentionner : un protecteur d’écran mat. Le verre de l’iPad est lisse, ce qui peut donner l’impression que votre stylet glisse.
Un protecteur texturé avec effet « papier » ajoute de la friction. Il vous donne plus de contrôle et fait que la surface ressemble davantage à du vrai papier. Petit changement, grande différence.
Configurer votre iPad pour le dessin
Avant de commencer à dessiner, prenez quelques minutes pour configurer votre installation. Cela en vaut la peine.
Appairer votre stylet est simple. Avec quelque chose comme le Tinymoose Pencil Pro, il suffit de le brancher via USB-C ou de le laisser se fixer magnétiquement à l’iPad. Pas de menus Bluetooth. Il se connecte instantanément.
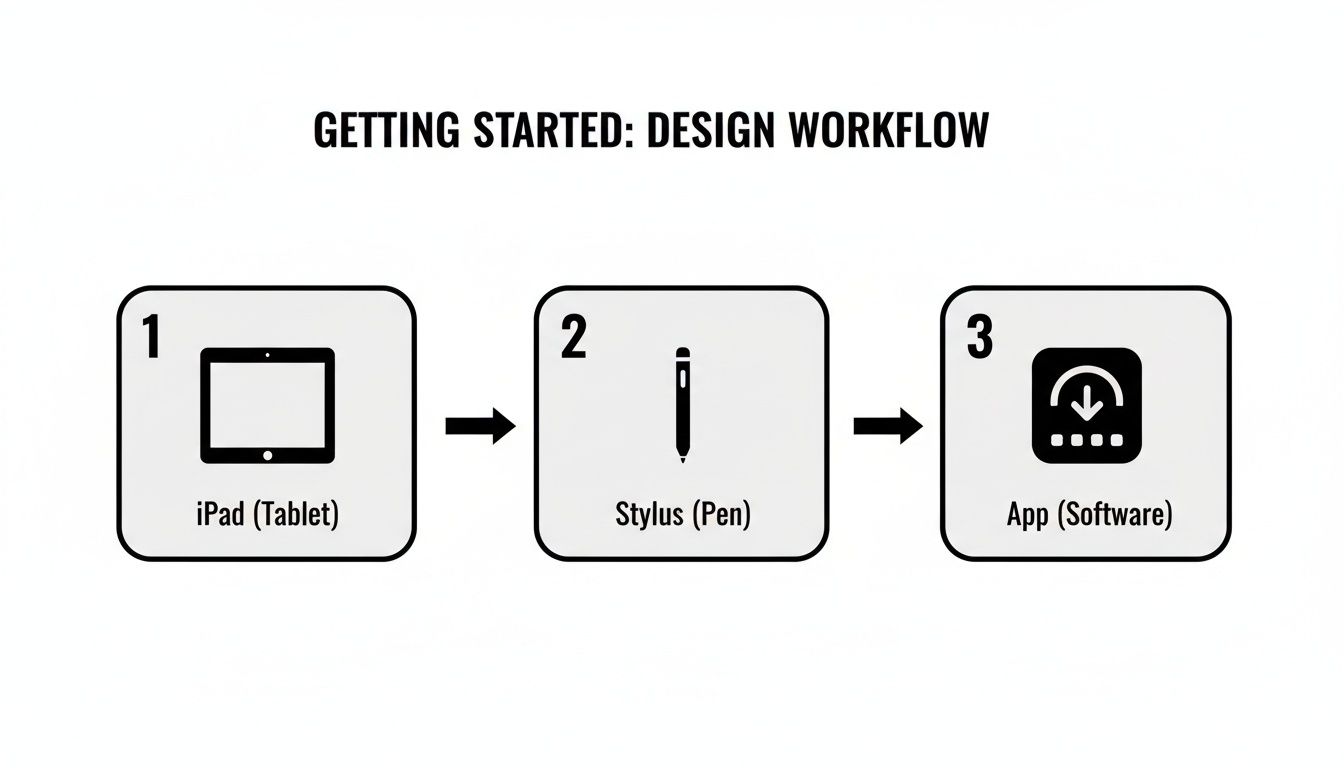
Le flux de travail est simple : iPad → stylet → application. C'est le chemin de l'idée à l'œuvre finie.
Calibrer votre stylet
Dans votre application de dessin, vous pouvez affiner le comportement de votre stylet. Dans des applications comme Procreate, cherchez ces réglages :
Courbe de pression : Cela contrôle la force physique nécessaire pour créer des traits fins ou épais. Une courbe douce rend le stylet plus réactif. Une courbe raide demande plus de force délibérée. C'est une préférence personnelle — prenez quelques minutes pour expérimenter.
Sensibilité à l'inclinaison : Cela vous permet de faire des ombrages en inclinant le stylet, comme avec un vrai crayon. Ajustez-le jusqu'à ce que cela paraisse naturel.
Rejet de la paume et gestes
Le rejet de la paume permet à l'iPad d'ignorer votre main pendant que vous dessinez. Seule la pointe du stylet est prise en compte. Cela signifie que vous pouvez poser votre main sur l'écran sans créer de marques accidentelles.
Quand vos outils sont bien calibrés, vous cessez de penser à la technologie et vous vous concentrez sur le dessin.
Il vaut aussi la peine de configurer les commandes gestuelles. Vous pouvez paramétrer un tapotement à deux doigts pour annuler, un balayage à trois doigts pour rétablir, etc. Ces gestes deviennent rapidement des automatismes et vous évitent de passer par les menus.
Choisir une application de dessin
L'App Store propose des dizaines d'applications de dessin. Ne vous compliquez pas la vie. Choisissez celle qui correspond à ce que vous voulez créer.
Meilleures applications selon l'usage
-
Pour l'illustration générale : Procreate
Procreate est la référence du secteur pour de bonnes raisons. Achat unique, outils puissants, interface intuitive. C'est une application basée sur le bitmap — idéale pour la peinture numérique, l'illustration et le croquis. -
Pour les débutants : Autodesk Sketchbook
Sketchbook est entièrement gratuit et offre une interface épurée. Des outils professionnels sans courbe d'apprentissage. Parfait pour débuter. Nous avons aussi présenté de bonnes options dans notre guide meilleures applications de prise de notes sur iPad. -
Pour l'art vectoriel : Adobe Fresco ou Affinity Designer
Besoin de graphiques qui s'adaptent sans perdre en qualité (logos, icônes) ? Adobe Fresco propose une version gratuite et mélange pinceaux vectoriels et bitmap. Affinity Designer est un achat unique avec une boîte à outils vectorielle complète.
La meilleure application est celle qui ne vous gêne pas. Elle doit être assez intuitive pour que vous oubliiez que vous utilisez un logiciel.
La plupart des applications payantes proposent des essais gratuits. Essayez-en plusieurs pour voir celle qui vous convient.
Les bases du dessin numérique
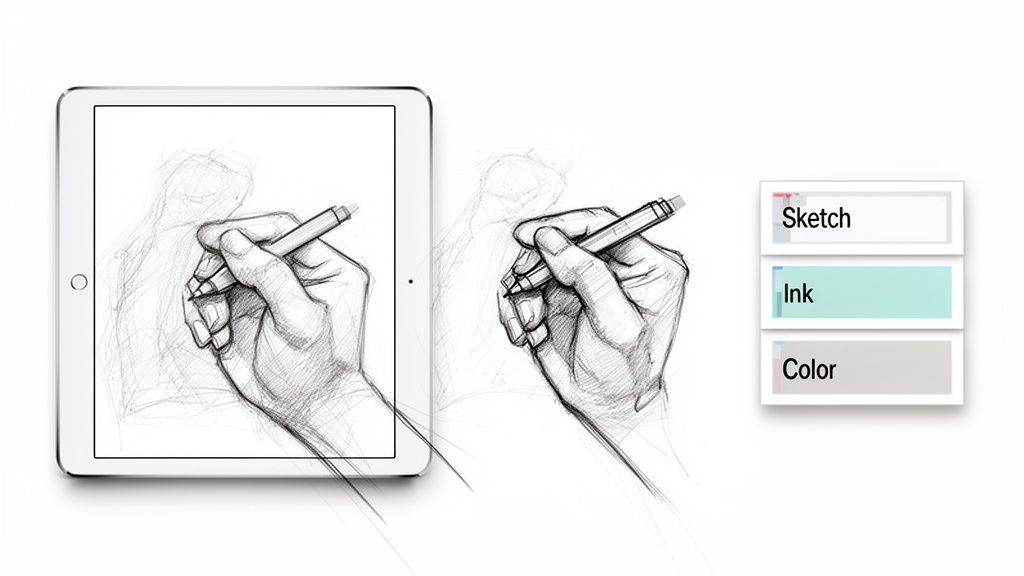
Passons maintenant au dessin proprement dit. Les fondamentaux sont les mêmes que pour l'art traditionnel : esquisse, encrage, couleur. L'iPad rend chaque étape plus indulgente.
Croquis et encrage
Commencez de façon brouillonne. Prenez un pinceau crayon texturé, gardez votre poignet détendu, et posez les formes de base. Le but n’est pas la perfection — c’est de capturer l’idée. Vous pourrez affiner plus tard.
Une fois que votre croquis vous convient, passez à l’encrage. Utilisez un pinceau lisse et laissez la sensibilité à la pression faire le travail. Toucher léger = ligne fine. Plus de pression = ligne plus épaisse. C’est là qu’un bon stylet fait la différence.
Travailler avec les calques
Les calques sont le plus grand avantage du dessin numérique. Imaginez-les comme des feuilles transparentes empilées les unes sur les autres. Vous pouvez dessiner sur l’une sans affecter les autres.
Une configuration typique de calques :
- Calque 1 : Croquis
- Calque 2 : Dessin au trait propre (au-dessus du croquis)
- Calque 3 : Couleurs plates (sous le dessin au trait)
- Calque 4 : Ombrages et lumières (au-dessus des couleurs)
Cette séparation vous donne de la liberté. Vous vous trompez dans les couleurs ? Effacez ce calque sans toucher à votre dessin au trait. C’est une édition non destructive.
Garder le croquis, les contours et les couleurs sur des calques séparés vous permet de modifier n’importe quoi à n’importe quelle étape sans repartir de zéro.
Coloration et ombrage
Commencez par des couleurs plates — remplissez chaque zone avec une couleur de base unie sur son propre calque.
Pour l’ombrage, créez un nouveau calque au-dessus. C’est là que la sensibilité à l’inclinaison est utile. Inclinez votre stylet pour utiliser le côté de la pointe et obtenir des ombres larges et douces — même technique qu’avec un vrai crayon. Le Tinymoose Pencil Pro gère cela très bien.
Conseils pour le flux de travail
Quelques habitudes qui accélèrent le travail :
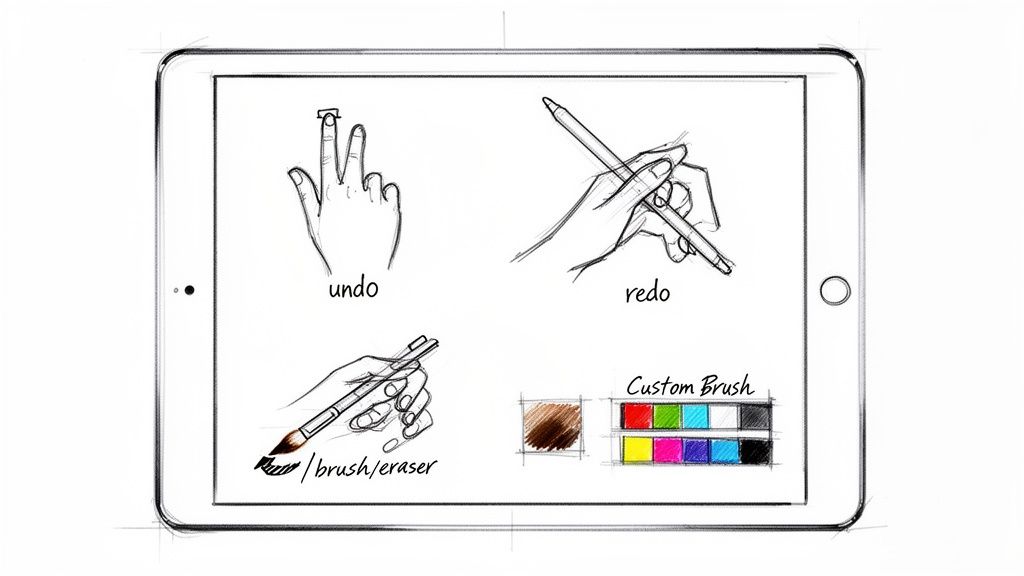
Apprenez les gestes. Tapez avec deux doigts pour annuler. Glissez avec trois doigts pour rétablir. Ces gestes deviennent naturels et vous permettent de continuer à dessiner sans chercher dans les menus.
Utilisez les boutons de raccourci. Le Tinymoose Pencil Pro possède un bouton programmable que vous pouvez configurer pour basculer entre pinceau et gomme. Un petit détail, mais qui vous permet de garder la main sur la toile. Pour en savoir plus sur les fonctionnalités des stylets, consultez notre guide sur comment choisir le stylet idéal pour votre flux de travail.
Créez un ensemble de pinceaux personnalisé. Une fois que vous trouvez des pinceaux que vous aimez, enregistrez-les dans une palette de favoris. Idem pour les couleurs — créez des palettes pour vos projets afin de ne pas repartir de zéro à chaque fois.
Enregistrez des versions. Avant de faire de gros changements, dupliquez votre fichier. Si quelque chose tourne mal, vous pourrez revenir en arrière.
Conclusion
Dessiner sur un iPad est simple une fois les fondamentaux maîtrisés : un iPad compatible, un stylet correct avec inclinaison et rejet de la paume, et une application de dessin adaptée à votre style.
Commencez simple. Apprenez les bases. Ajoutez de la complexité selon vos besoins.
Les outils sont désormais suffisamment performants pour que le facteur limitant soit la pratique, pas la technologie. Alors préparez votre matériel, choisissez une application, et commencez à dessiner.

Partager:
Comment fonctionne la recharge sans fil : le guide ultime de la commodité sans câble
iPad comme Tablette Graphique : le Guide 2026 (vs Wacom)