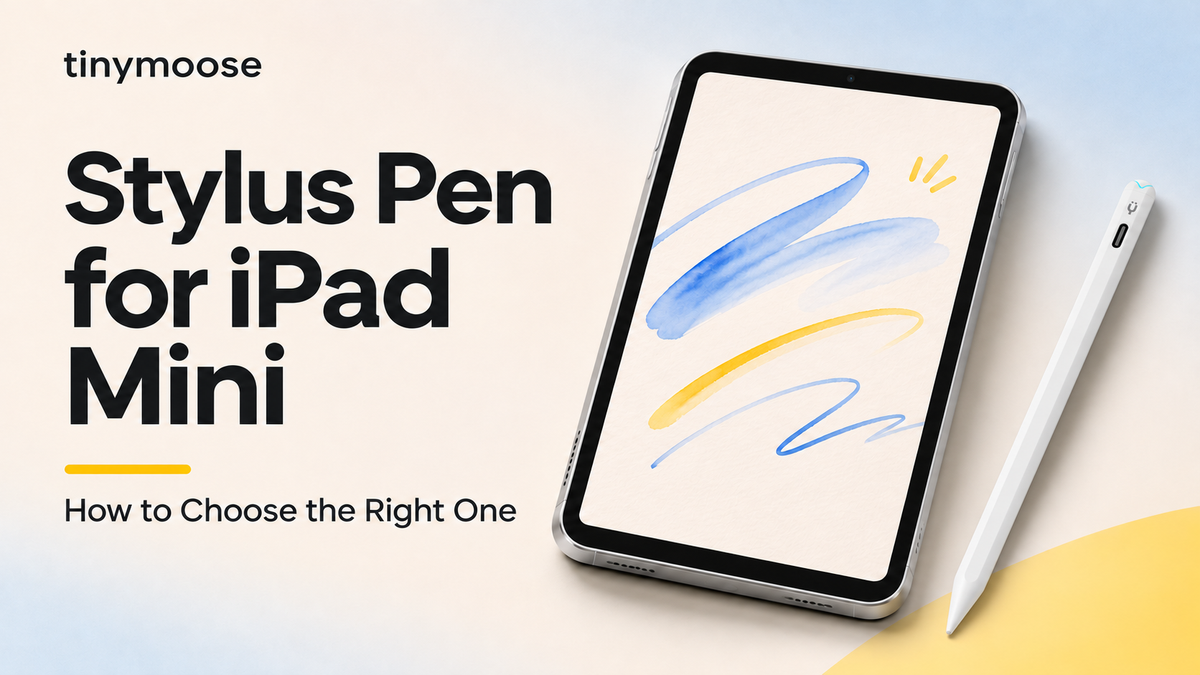
You're holding an iPad mini in one hand, a lecture slide or half finished sketch on screen, and a stylus in a shopping cart that says "for iPad" in big confident letters. It won't tell you which iPad mini generation it pairs with. That's exactly where most returns start, because iPad mini does not mean one pen. Get the generation right first, and every other choice about a stylus pen for iPad mini, from palm rejection to charging, becomes simple and practical.
Table of Contents
- Match Your Pen to Your iPad Mini Generation
- Pen Features and Palm Rejection on a Small Screen
- Charging and Storing Your Pen Without Losing It
- Note-Taking, Annotation and Drawing Uses
- Third-Party Pens and What to Verify
- Which Pen Tier Fits Your Situation
- Confirm Your Model Before You Buy
Match Your Pen to Your iPad Mini Generation
Start with the warning, then the lookup. A pen built for one mini can be completely unusable on the next, even though the tablets look almost identical in a case.
Apple Pencil support by iPad mini model
| iPad mini Model | Apple Pencil (1st gen) | Apple Pencil (2nd gen) | Apple Pencil (USB-C) | Apple Pencil Pro |
|---|---|---|---|---|
| iPad mini (5th generation) | Yes | No | No | No |
| iPad mini (6th generation) | No | Yes | Yes | No |
| iPad mini (A17 Pro) | No | No | Yes | Yes |
Apple's iPad mini specifications list both the sixth-generation iPad mini and the newer iPad mini (A17 Pro) as compatible with Apple Pencil (USB-C), while the A17 Pro model also supports Apple Pencil Pro. Don't assume Pro features work on a 6th generation tablet. They won't.
The classic upgrade trap sits in the middle row. The 2024 A17 Pro mini cannot use the second-generation Apple Pencil, so owners moving up from a 6th generation mini often discover their perfectly good pen won't pair with the new tablet. It's not broken. It's just matched to the wrong generation.
The Four Checks That Settle It
- Read your model name: Open Settings, then General, then About, and note the exact model named there.
- Check your software: Open Settings, then General, then Software Update, and note the iPadOS version. Apple specifies that Apple Pencil (USB-C) requires iPadOS 17.1.1 or later, so software is part of compatibility, not an afterthought.
- Find your row: Match your model to the table and mark which pen types are open to you.
- Then compare features: Only after steps one to three pass should you look at tilt, shortcuts, or charging.
For any third-party option, confirm support against your exact model identifier rather than trusting a universal claim. A pen that only simulates finger input may tap menus, but it generally can't deliver reliable palm rejection, hover, or pressure aware drawing.
Our own range follows that same rule. Tinymoose stylus pens work with every iPad model that supports Apple Pencil, including iPad mini 6th generation and later, alongside iPad Pro 11-inch, iPad Pro 12.9-inch (3rd generation and later), iPad Pro 13-inch M4/M5, iPad Air 4th generation and later, and standard iPad 6th generation through the current A16 model.
You should now be holding three confirmed facts: your model, your iPadOS version, and the pen type that fits both.
Pen Features and Palm Rejection on a Small Screen
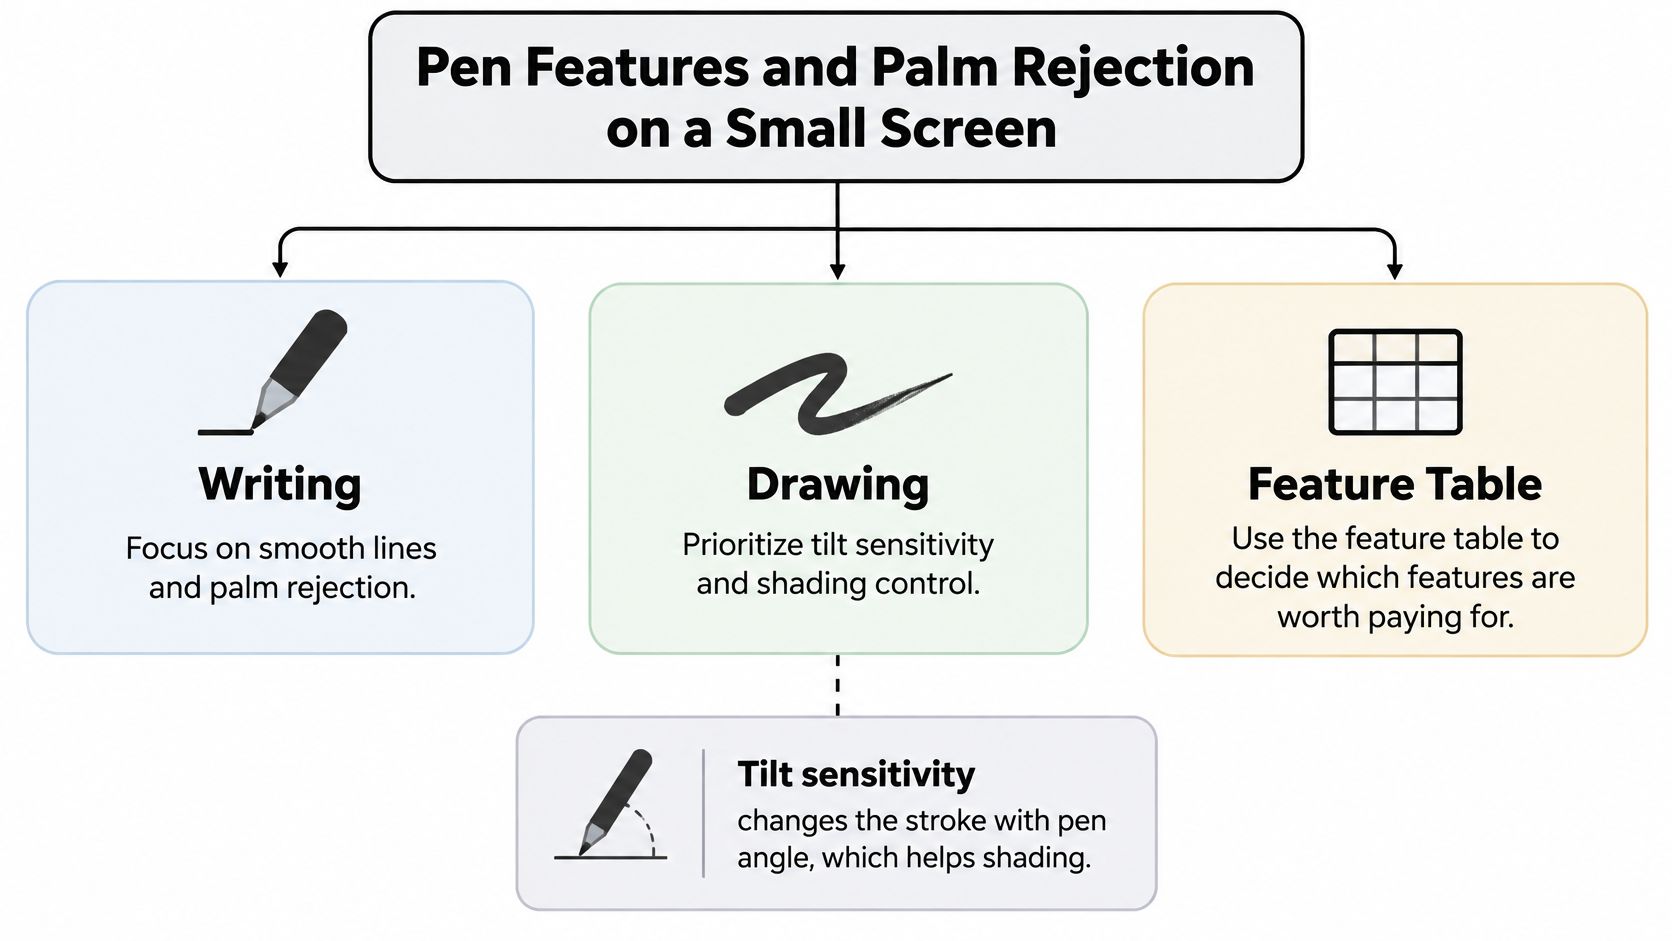
Writing and drawing don't need the same features, so paying for every feature rarely makes life easier. Split them into writing essentials and drawing extras before you spend anything.
The screen you're working on explains why. Apple's technical specifications for the 6th-generation iPad mini identify an 8.3-inch Liquid Retina display, measured diagonally, with a resolution of 2266 by 1488 pixels and a density of 326 pixels per inch. That's a sharp surface, but it's small. Your palm rests close to your lines, your hand covers more of the page, and small errors in tip placement show up fast.
What Each Feature Actually Does
Pen features and what they do on a mini
| Feature | What It Does | Why It Matters on a Mini | Needed For |
|---|---|---|---|
| Tilt sensitivity | Changes the stroke with pen angle | Shading without switching brushes | Sketching and shading |
| Pressure sensitivity | Changes line width and opacity with force | Expressive brush strokes | Painting, not basic notes |
| Hover | Previews the stroke before contact | Precise placement in supported apps | Detailed work on A17 Pro mini |
| Palm rejection | Ignores a resting hand | Writing near the lower edge | All handwriting |
| Low latency | Keeps ink close to tip movement | Fast handwriting without visible lag | All handwriting |
| Shortcut buttons | Switches tools or triggers actions | Fewer trips to on-screen menus | Frequent tool switching |
Apple's Apple Pencil overview describes Apple Pencil (USB-C) as providing pixel-level precision, low latency, and tilt sensitivity, with pairing and charging through a USB-C cable. That's a strong note-taking bundle. What it doesn't give you is pressure. Apple places pressure sensitivity on other Pencil models, which matters if you paint with brushes that should thicken or darken as you press harder.
Tilt is different from pressure, and sellers blur the two constantly. Tilt changes the rendered mark according to pen angle, so you can shade with the side of a virtual pencil without opening a brush menu. It's useful for sketching and markup highlighting, but it won't replace pressure in a painting app.
Hover previews where your stroke will land before the tip touches the glass, on the A17 Pro mini in supporting apps. On a compact display where one slipped line can cross three words, that preview helps with detailed diagrams and tight retouching. For lecture notes, you'll barely notice it.
Practical rule: If you only write and mark up PDFs, put palm rejection and low latency first. If you paint, add pressure and hover, and accept the higher price.
Palm rejection deserves special suspicion. It's handled jointly by the active stylus protocol and iPadOS, so a pen that merely sends Bluetooth shortcut commands is not a full active stylus, whatever the listing claims. Shortcut buttons are helpful for erasing or switching tools, but they don't prove the digitizer is doing its job.
The Palm Test That Fails Most Pens
Run this before you trust any stylus pen for iPad mini with real notes.
- Open a blank note: Use Apple Notes with a plain line tool selected.
- Rest your hand naturally: Write a full line near the bottom edge, exactly as you would in class.
- Repeat in your case: Put the iPad back in its case and write the same line again.
- Write quickly both ways: Scribble fast in both directions and inspect for stray marks, dots, or jumped lines.
One stray mark means the pen isn't ready for the mini. On a bigger iPad you might write around the problem. On an 8.3-inch screen, there's nowhere to hide from it.
Charging and Storing Your Pen Without Losing It
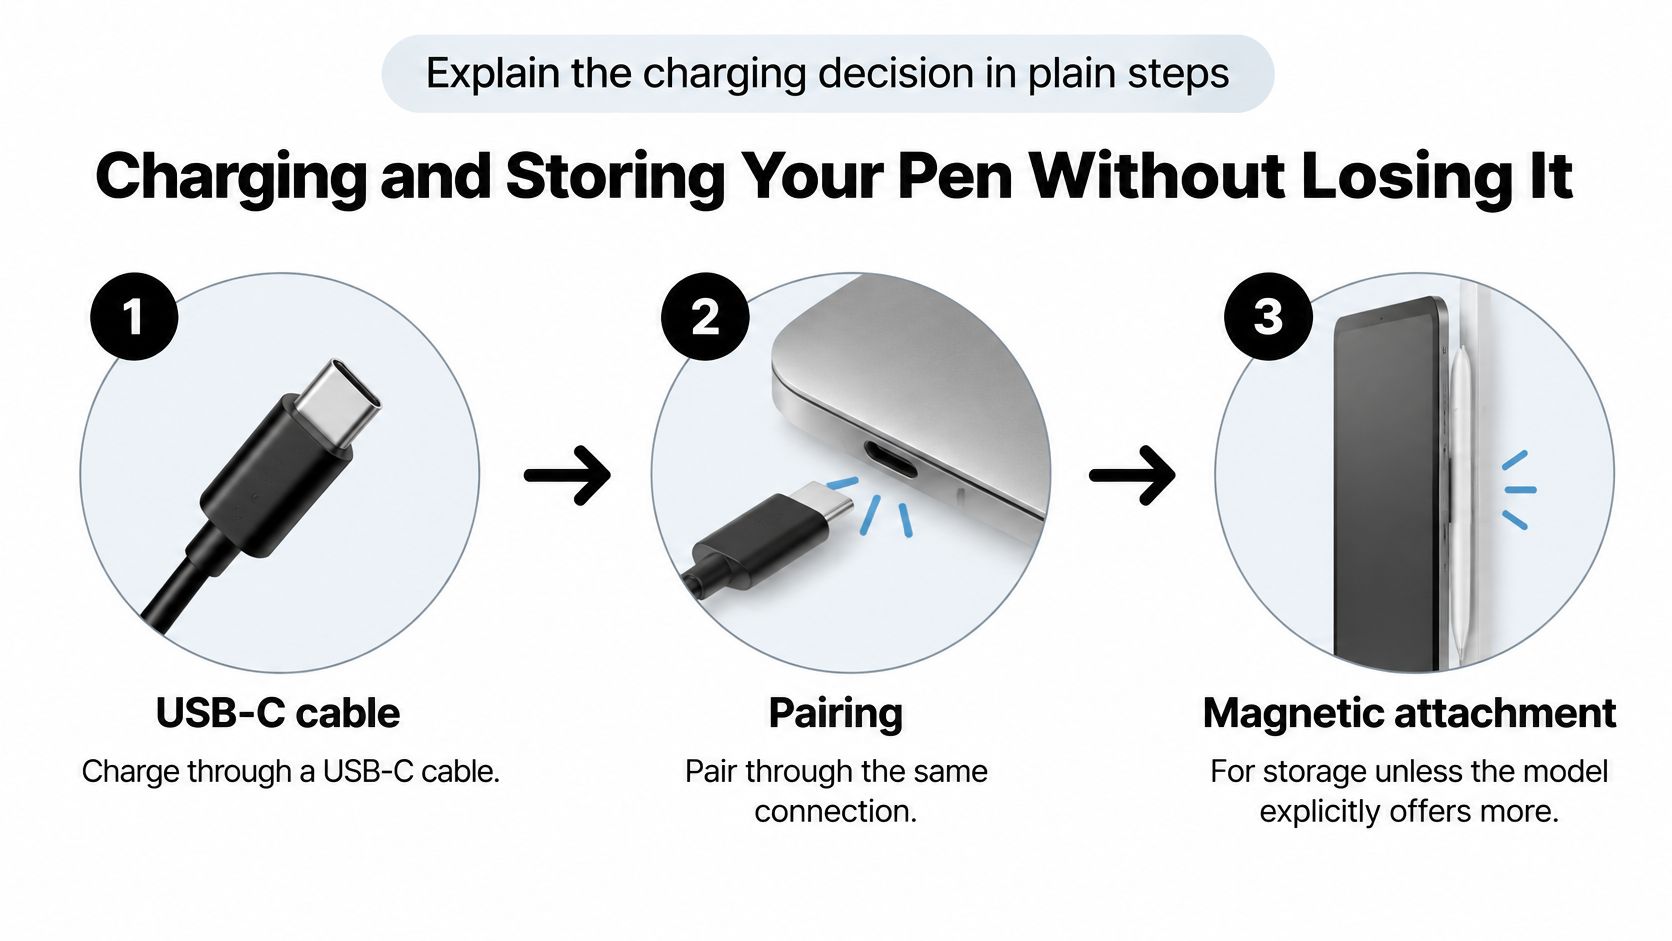
Charging decides whether a pen feels effortless or becomes the thing you leave at home. Keep the decision plain. USB-C pens charge through a USB-C cable and pair through that same connection, while magnetic attachment is for storage unless the model explicitly offers wireless magnetic charging. Treat any magnet as a parking spot until a product page proves otherwise.
Here's the charging and storage flow at a glance.
Apple's guide to charging Apple Pencil describes the USB-C Pencil as supporting precision, low latency, and tilt sensitivity, while separately identifying pressure sensitivity as a feature of other Pencil models. The useful lesson for daily use is about friction. How quickly can you write, erase, switch tools, and resume after the battery dies? That beats headline specs every time.
The Charging Flow
- Connect the cable: Plug the USB-C cable into the pen and into the iPad's USB-C port.
- Watch for pairing: Wait for the pairing prompt on screen and confirm it.
- Verify the battery: Check the battery level in Settings so you know the pen took charge.
- Park it properly: Store the pen magnetically along the side of the iPad or in a case with a dedicated slot.
Three interruptions cause most of the frustration. A case can block the iPad's port, turning a quick top-up into a wrestling match. A flat battery mid-lecture stops your notes on the page where the key point was about to land. And a magnet that grips the bare mini can slide off through a thick case, usually inside a bag where you'll find it last.
This short walkthrough shows the pairing and storage motions up close.
Say a student charges the pen during a morning commute, using the same cable that charges the iPad, then snaps it to the tablet's side for the walk to class. That one habit covers a full day of lectures without a second thought. I would build exactly that kind of routine, and choosing a stylus for portable sketching follows the same logic of one motion, done the same way every day.
Choose a charging method you can do in one motion, and keep the cable with the pen. Anything fiddlier will get skipped on a busy morning.
Note-Taking, Annotation and Drawing Uses
Say a student carries one iPad mini through a full day. The pen has to switch jobs four times, and each job asks for a slightly different strength from the same small tablet.
Quick capture comes first, usually in Apple Notes between classes. Apple's Scribble guide for iPad explains that Scribble converts handwriting to text directly on the iPad and works in any text field, with the system turning writing into typed text automatically. Apple also states that Scribble is enabled by default after pairing a compatible Apple Pencil on iPadOS 14 or later, so there's no separate app or setup ritual. You write in a search box or message field, and text appears. That's the kind of ease that makes a stylus pen for iPad mini worth carrying.
Typed notes from handwriting is the follow-up move. In Notes, the Scribble tool converts selected handwriting into editable text, and handwriting refinement is available on the 6th-generation and A17 Pro minis for a more polished result. Our student writes a 20-minute lecture summary by hand, because handwriting keeps up with thinking, then converts the key lines to text so they're searchable before the exam. A stylus guide for iPad students builds study routines around that same capture then convert pattern.
PDF and slide markup is where the hardware earns its keep. Writing directly on lecture slides and reports means your hand sits on the glass constantly, so palm rejection and low latency matter more than any creative feature. Circle a definition, arrow a diagram, move on. If ink trails behind your tip, you'll stop annotating by week two.
Sketching and journaling close the day. Tilt gives you shading and quick thumbnails without menu diving, which suits a small screen beautifully. Add pressure only if you're genuinely painting with expressive brushes, because that's the one job where force control changes the result.
Now name your own most common task, and the single pen characteristic that serves it best. That answer, not a feature list, should drive your purchase.
Third-Party Pens and What to Verify
A cheaper third-party pen can be the most practical choice for basic handwriting, and I recommend them often. Judge it by input type, not price. Universal capacitive input mimics a finger and works well for menus. An active stylus talks to the digitizer properly, which is where palm rejection, hover, pressure, and tilt come from.
Screen every candidate in this order.
- Confirm model support: Check the pen against your exact iPad mini identifier, word for word.
- Confirm iPadOS compatibility: Include the 17.1.1 minimum that applies to USB-C pens.
- Check the protocol: Establish whether the pen uses native Pencil protocols or only simulates finger input.
- Check charging: Make sure the charging method can be completed in one step you'd repeat daily.
- Check storage: Verify the magnet holds on your iPad mini while it's in its case, not just on a bare tablet.
Then run the palm test. Steps one to five filter out bad listings, but only handwriting near the bottom edge of your own screen proves the pen behaves.
Ask the seller to confirm support by model rather than accepting a general claim such as works with iPad. Refurbished and hand-me-down minis make model confusion far more likely, since the tablet in your bag may be two generations older than the one in the ad photo. You'll find that model first thinking in our Tinymoose stylus compatibility advice, and it takes two minutes before ordering instead of a week arranging a return.
Which Pen Tier Fits Your Situation
Read the row that matches your life. Compatibility has already narrowed the field, so this is about paying for the tier you'll use.
Pen type to choose by situation
| Your Situation | Pen Type to Choose | Why It Fits |
|---|---|---|
| Lecture notes and PDF markup on iPad mini 6th generation | USB-C pen with palm rejection and tilt | Charges by cable and covers writing and markup |
| Already own a second-generation Apple Pencil | Keep it on 6th generation, and check support before switching | Avoids a second pen and a new pairing setup |
| Daily sketching on iPad mini A17 Pro | Pencil Pro-class pen with hover and shortcut buttons | Hover and shortcuts help detailed work |
| Carrying the mini every day | Pen with magnetic storage | Keeps the pen attached to the tablet |
| Older 5th generation iPad mini | Confirm first-generation Pencil support first | Compatibility decides before features |
Apple's iPad user guide on Apple Pencil reflects the same split, with Apple Pencil (USB-C) listed for both the sixth-generation iPad mini and the A17 Pro iPad mini, while Apple Pencil Pro is listed for the A17 Pro model, not the sixth-generation model. Keep that boundary in mind when a listing shows Pro features against a 6th generation photo.
The second row saves real money. If your second-generation Pencil already works on your 6th generation mini, keeping it avoids a second pen and a fresh pairing setup. Only budget for a replacement when you're changing tablets, and factor that cost into the upgrade itself rather than discovering it at checkout.
For close calls, skip spec sheet rankings and run the workflow friction test. Time how quickly you can start writing, erase a mistake, switch tools, and resume after the battery runs out. A pen with the most features can still lose this test if it adds charging steps or controls that are hard to reach while you're holding a small tablet in one hand.
If your situation falls between rows: Choose the pen with fewer charging steps. Daily convenience outlasts features you'll try twice.
The everyday carry row deserves respect, too. A stylus pen for iPad mini earns its place by being attached to the tablet when an idea shows up on a train, not by winning a latency chart. Magnetic storage that survives your case and your bag is a genuine feature, not an accessory detail.
Confirm Your Model Before You Buy
Run this checklist last, after the model and feature checks have passed.
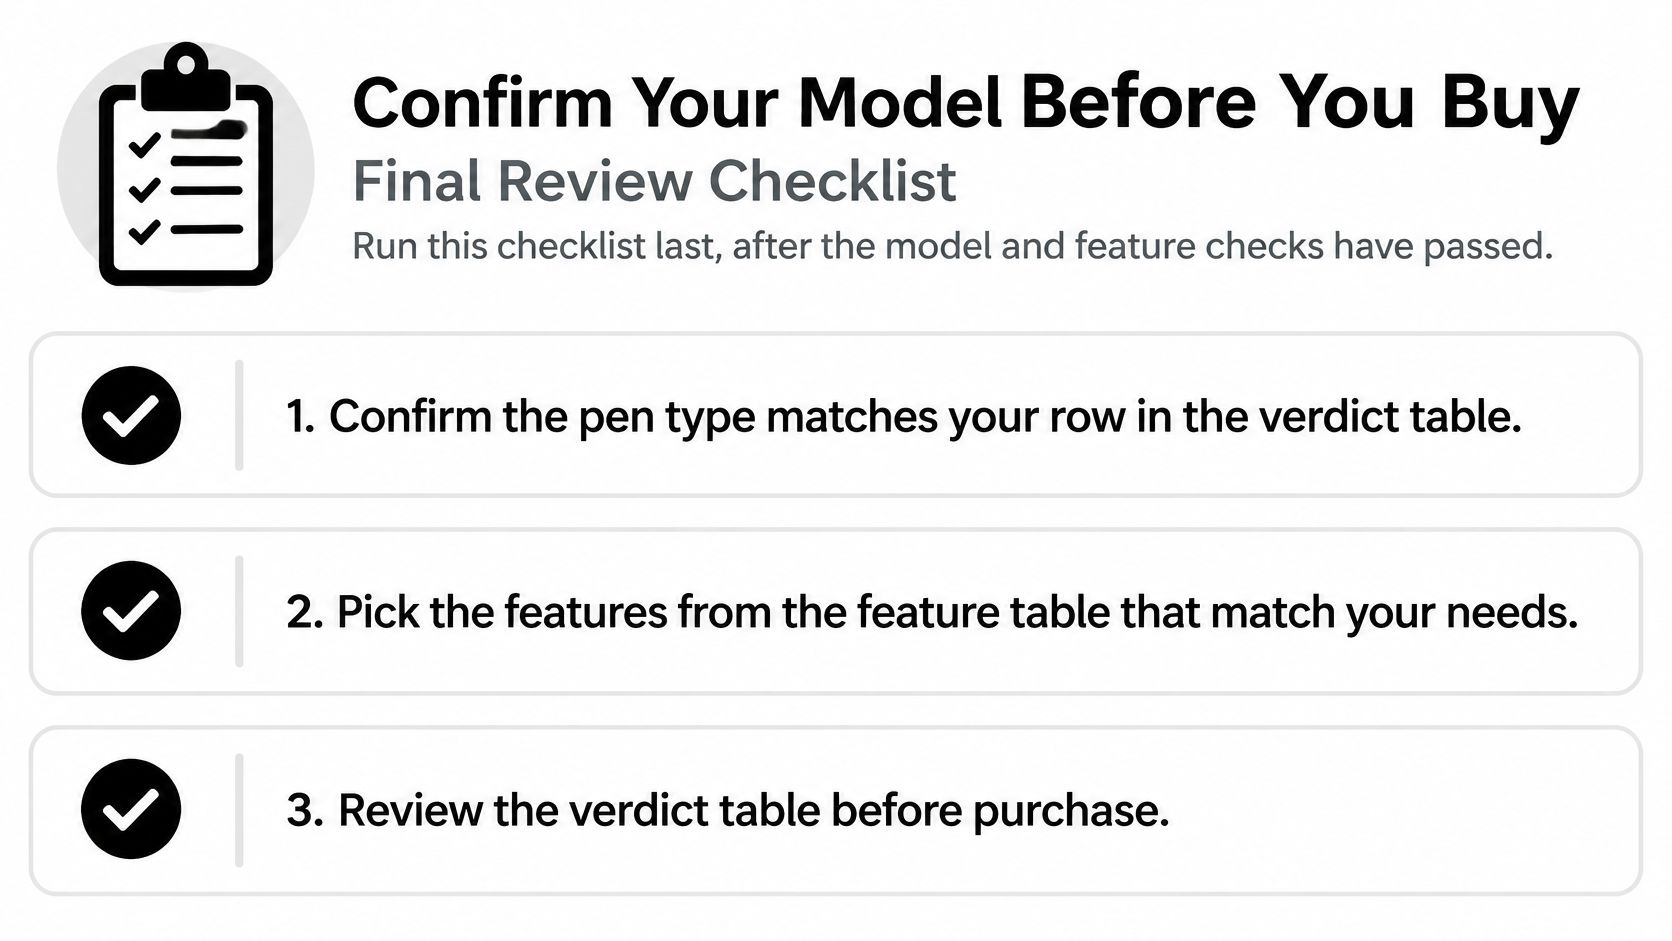
- Match the row: Confirm the pen type matches your row in the situation table.
- Pick your features: Choose only the features that serve your main task.
- Simplify charging: Select a method you can complete in one step, and keep the cable with the pen.
- Test the magnet: Check that magnetic storage holds on your iPad mini in its case.
- Verify the claim: Confirm the seller's support statement against your exact model identifier.
Once all five pass, one option to compare is our Pencil Pro (Pearl White), an iPad pen with USB-C charging, palm rejection, tilt technology, magnetic attachment, and a strong magnet for $29.95. It covers the writing and markup tier without paying for drawing features you won't open.
Before you open any product page, write down your model, your iPadOS version, and your main task on one line. If a listing can't answer to all three, it hasn't earned your money yet.
Tinymoose builds practical stylus pens with palm rejection, tilt technology, and magnetic attachment, so your iPad mini becomes an easier note-taking and sketching tool without overpriced extras. Confirm your generation, run the checklist, then visit Tinymoose to pick the pen that matches your model and the way you write.
Teilen:
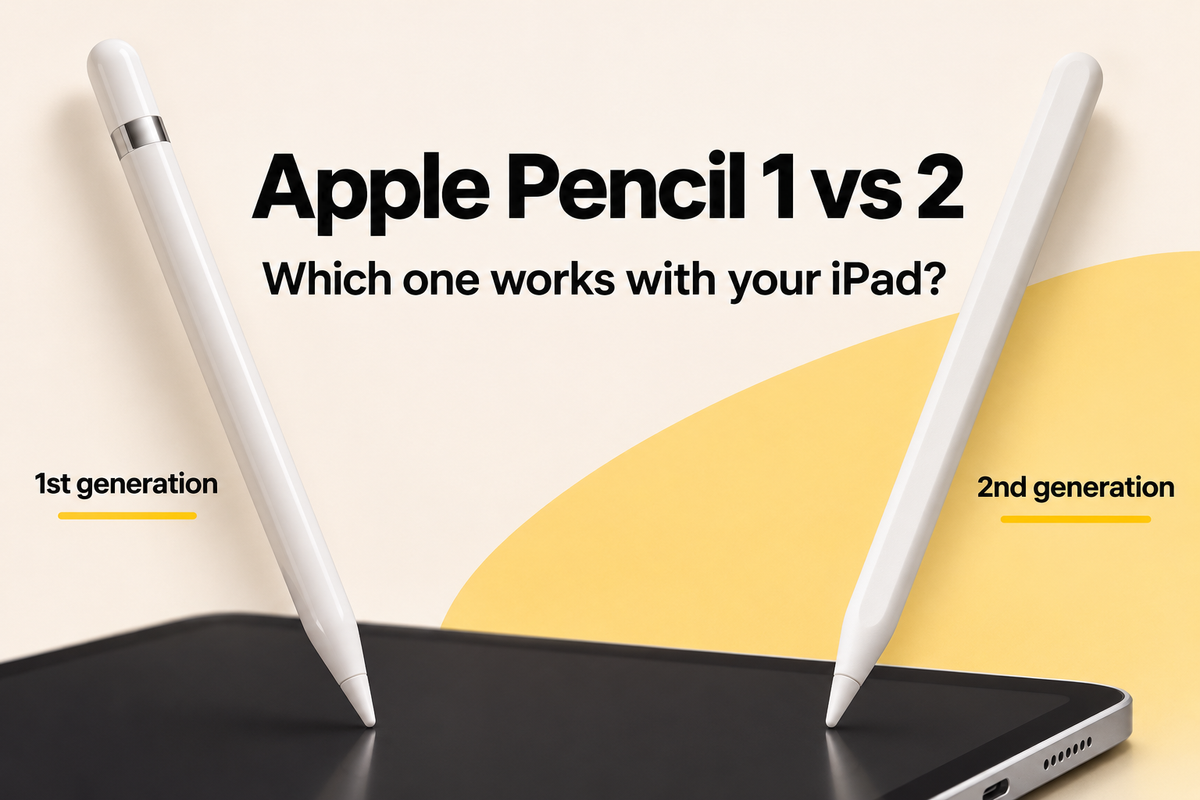
Apple Pencil 1 vs. 2: Welcher funktioniert mit deinem iPad?